People in IT jobs working from home sufffer .The electricity goes of in the rainy season
Innovation project
Challenge:
Whenever the electricity goes off, automatically a renewable source should turn on electricity
Objective:
Whenever the electricity goes off, automatically a renewable source should turn on electricity
Project Status
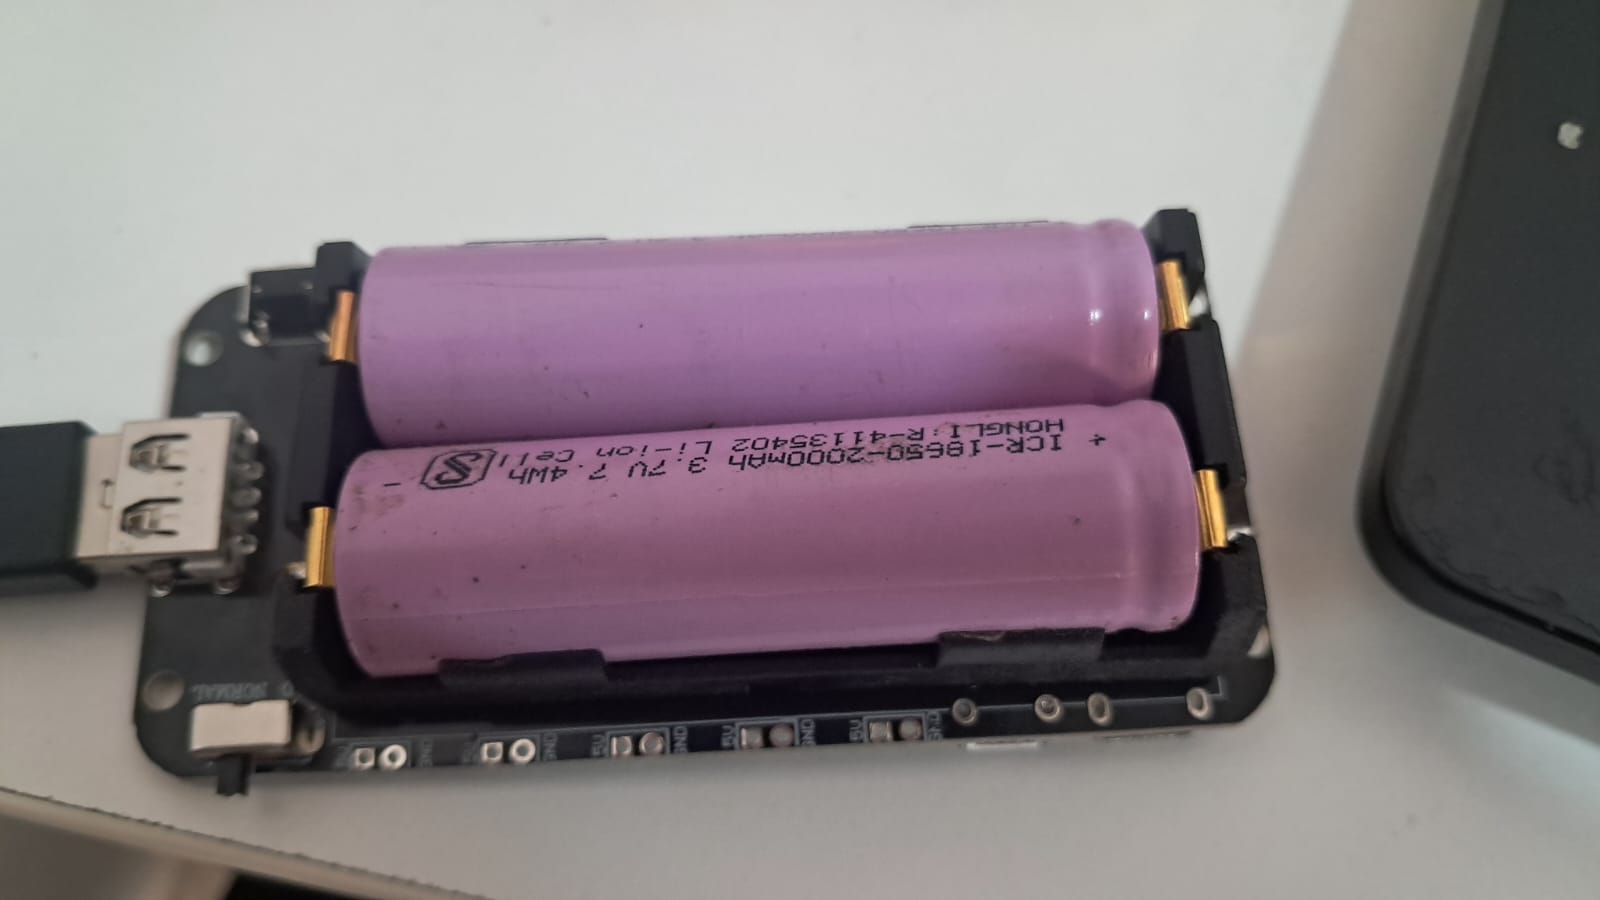
Problem Images
Document the problem. Upload visual evidence showing the problem’s nature, its real-world occurrence, and the specific hurdles preventing a breakthrough.
Only the project owner can upload images
Sign in as the project owner to add problem images.
Reviews & Feedback
No reviews yet. Be the first to share feedback.
Expert Consultation
Need clarity on the mission? Schedule a session with the problem owners or our innovation mentors to refine your discovery.
Hint: Sync with the industry team to understand the real-world stakes.
Hint: Get help applying the 7-phase methodology to your research.